Vagrantfile for Jekyll
I thought it might be useful to others (although it’s probably out there somewhere already) to post a link to the Vagrantfile I use when making updates to this blog.
GitHub Pages uses Jekyll by default to serve the content in your repository. You can run it locally to get a preview of what the public will see when you commit changes. If you have ruby installed already, then it’s probably trivial to install Jekyll. But, if you’re like me, and a longtime Windows/.Net guy with not much experience elsewhere, you might run into some trouble. I had run Vagrant previously to fool around with Redis, and figured it would be ideal for running Jekyll. After some fooling around, I’ve gotten my Vagrantfile working to actually set up Ruby and Jekyll when the machine is provisioned. You can see the Vagrantfile for this blog here.
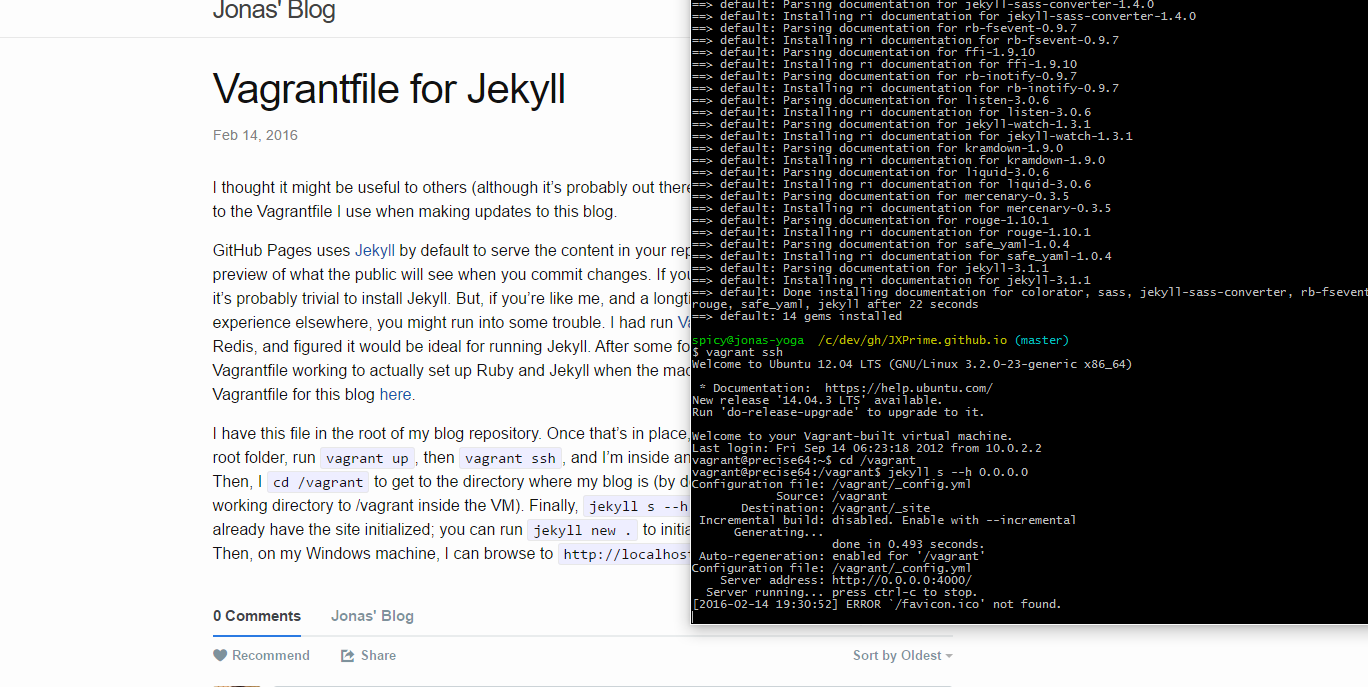
I have this file in the root of my blog repository. Once that’s in place, I can open a shell in my repository root folder, run vagrant up, then vagrant ssh, and I’m inside an SSH session inside my Linux VM. Then, I cd /vagrant to get to the directory where my blog is (by default, Vagrant maps the current working directory to /vagrant inside the VM). Finally, jekyll s --h 0.0.0.0, to start Jekyll (since I already have the site initialized; you can run jekyll new . to initialize Jekyll in the current folder). Then, on my Windows machine, I can browse to http://localhost:4567 and see the result: